4. Electrical
I had no idea what I was getting myself into.
I’ll have to take my hat off to my dad and his expertise on this subject. Most of these images and ideas are going to be products of his brain child. What I’ve learned with electrical, is that it’s so easy to move on to another project without completely finishing one. Whether you’re waiting for parts, letting something set/cure or have the dash open and think “Well, we’re here. We might as well do this too…” So, at the end of the month you have about 6-12 “projects” that are only maybe a “few hours” away from getting done.
… it’s so easy to move on to another project without completely finishing one.
At the time of writing this, we still have projects that aren’t completely finished… and we’ve been at it for months already.
WHAT WE HAVE DONE
So, without getting too detailed (although, if you would like some specifics regarding any of this, feel free to message us and I’d be happy to answer any questions) here are some of the things we have done to the cruiser:
♦ Upgraded main car battery (Battery 1) to a Duralast Platinum 900 CCA. We fabricated a fuse tray that holds our miscellaneous fuses and switch for the winch.

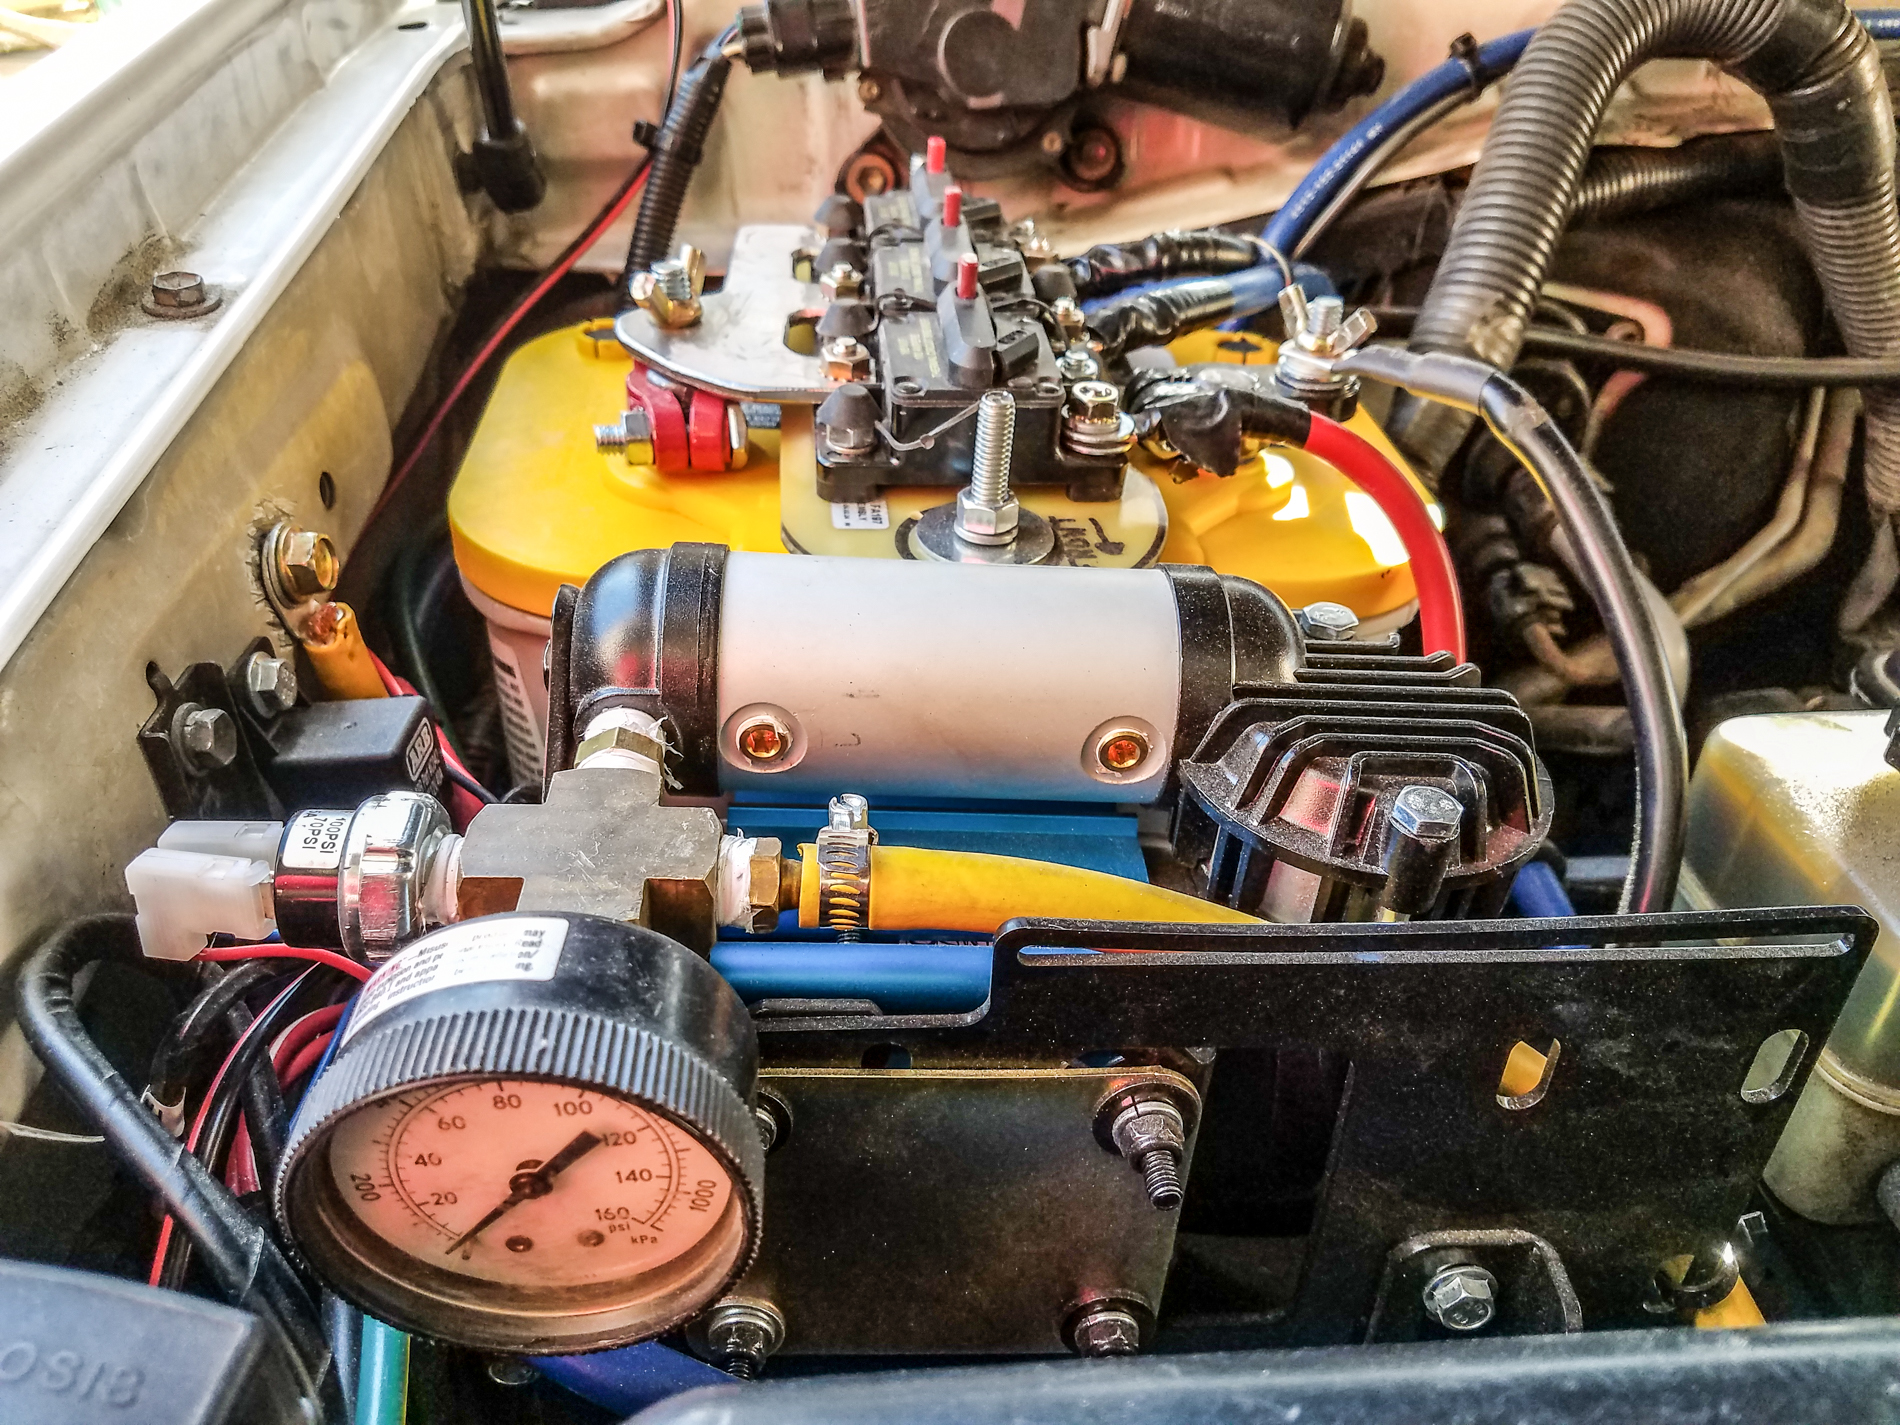
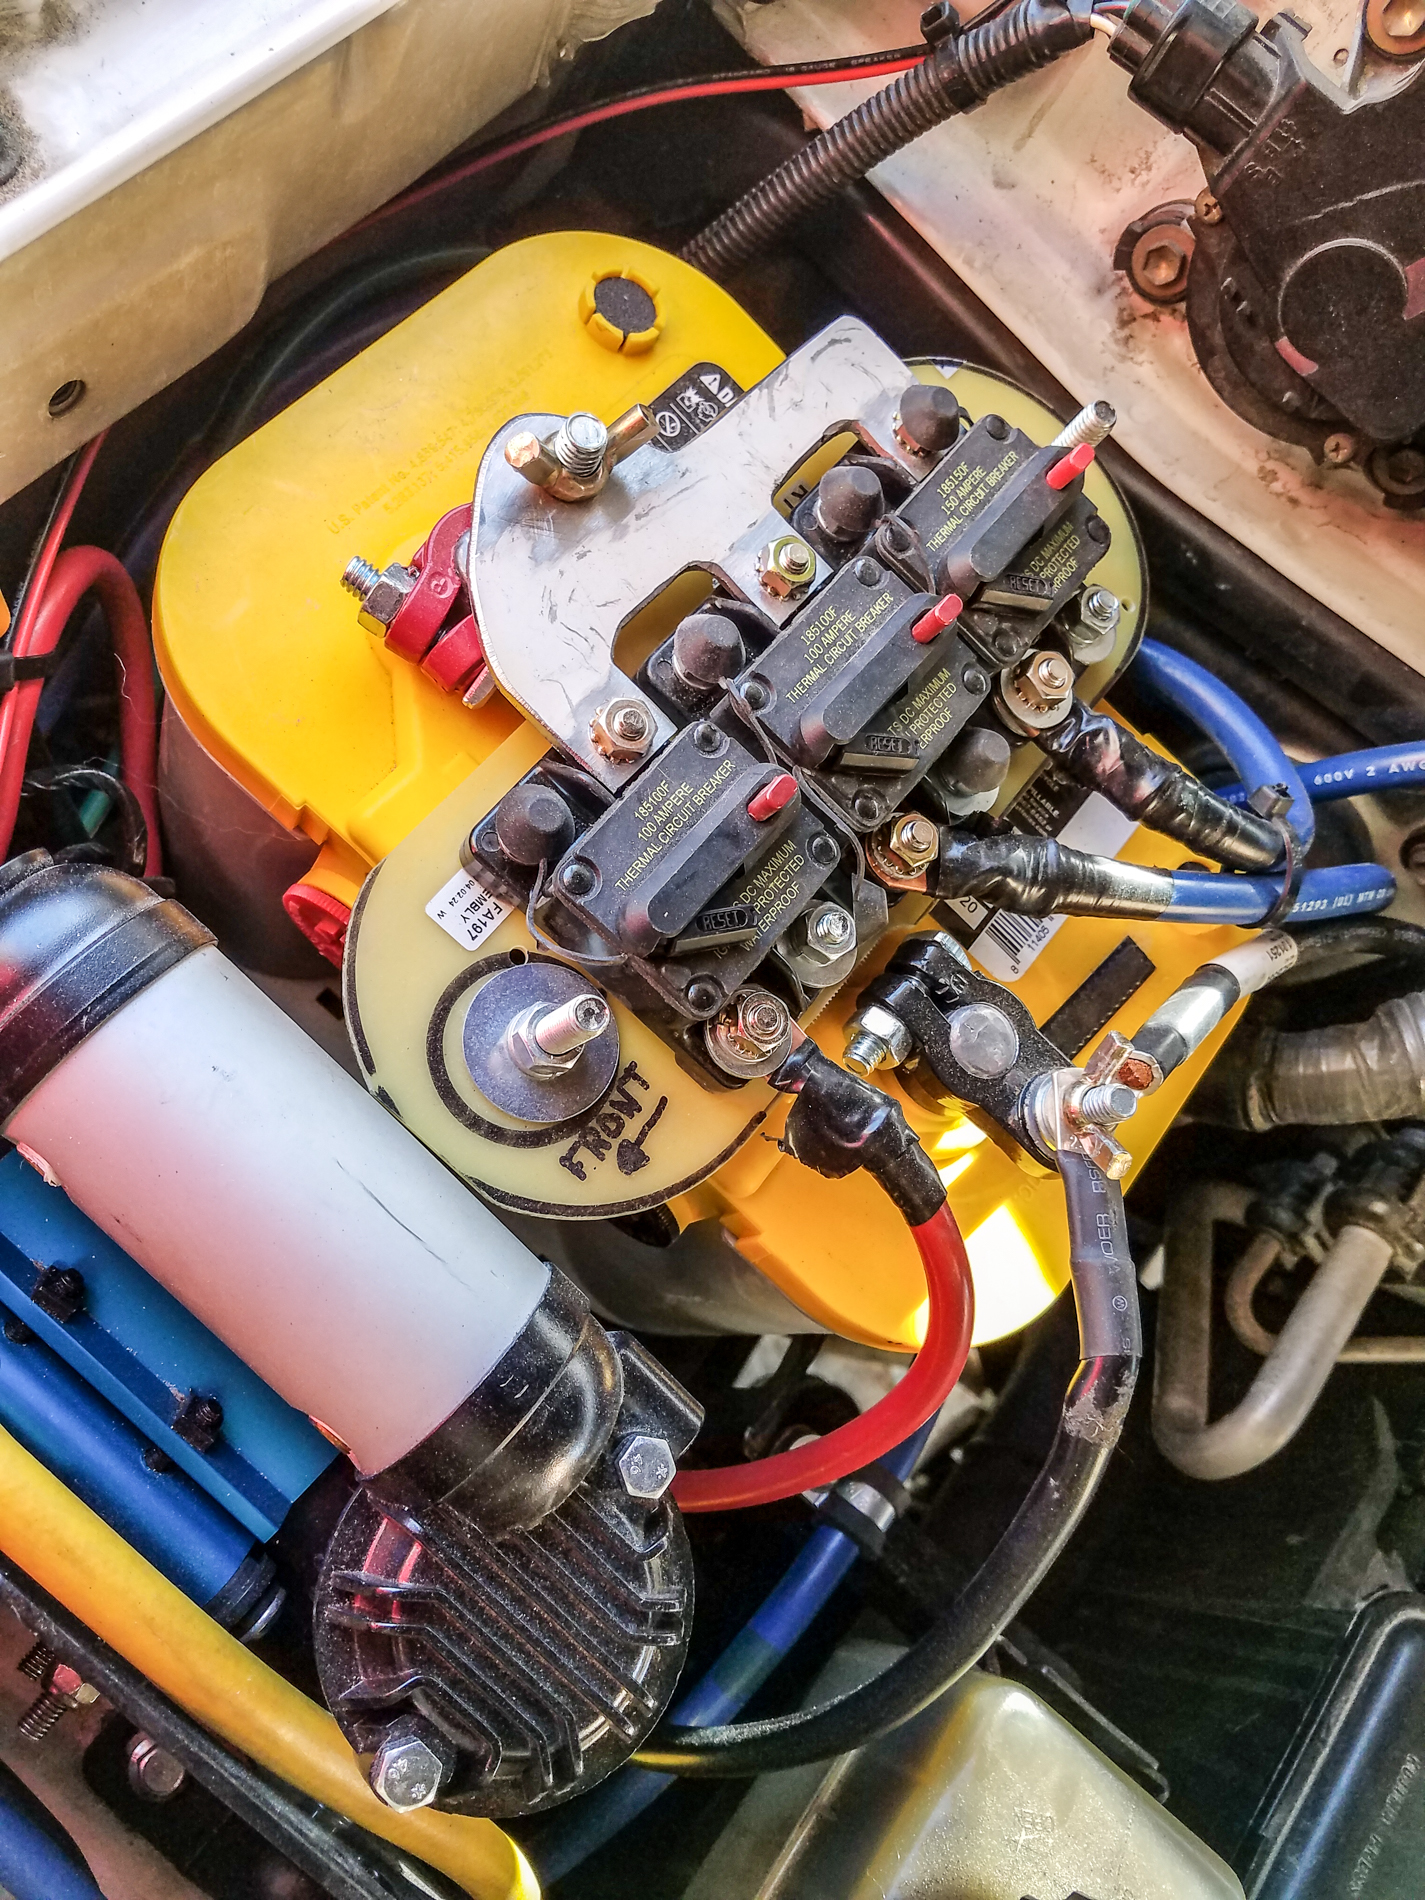
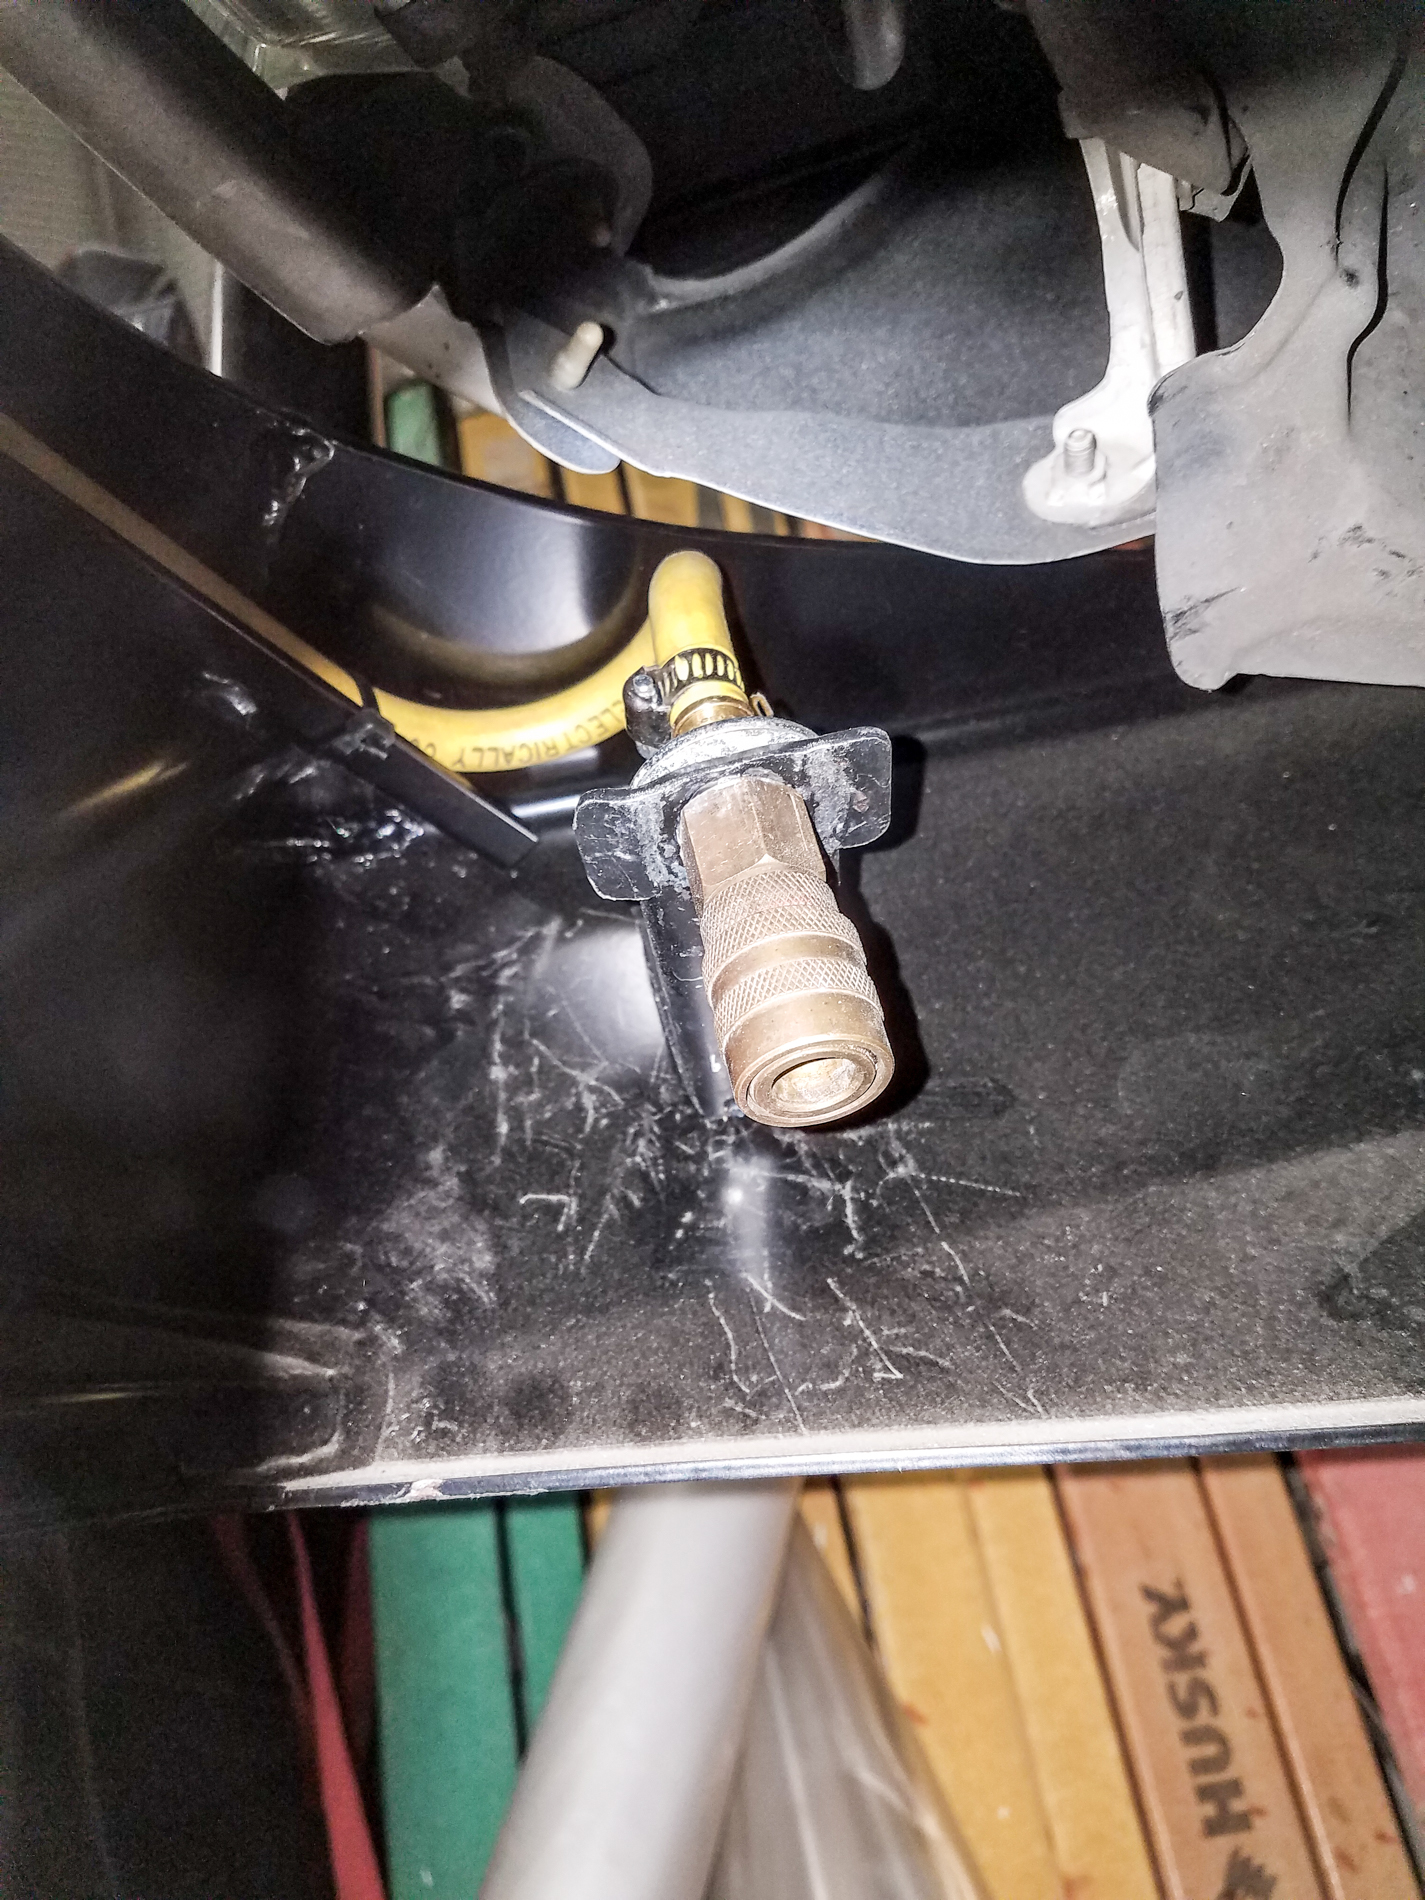
♦ Installed the Slee Offroad second battery tray. Added ARB on board air compressor. We also beefed this up with a pressure gauge and center console switch. The output hose for the air compressor is below the ARB front bumper. Added Battery 2, Optima deep cycle with 750 CCA. Fabricated a custom fuse panel on top.
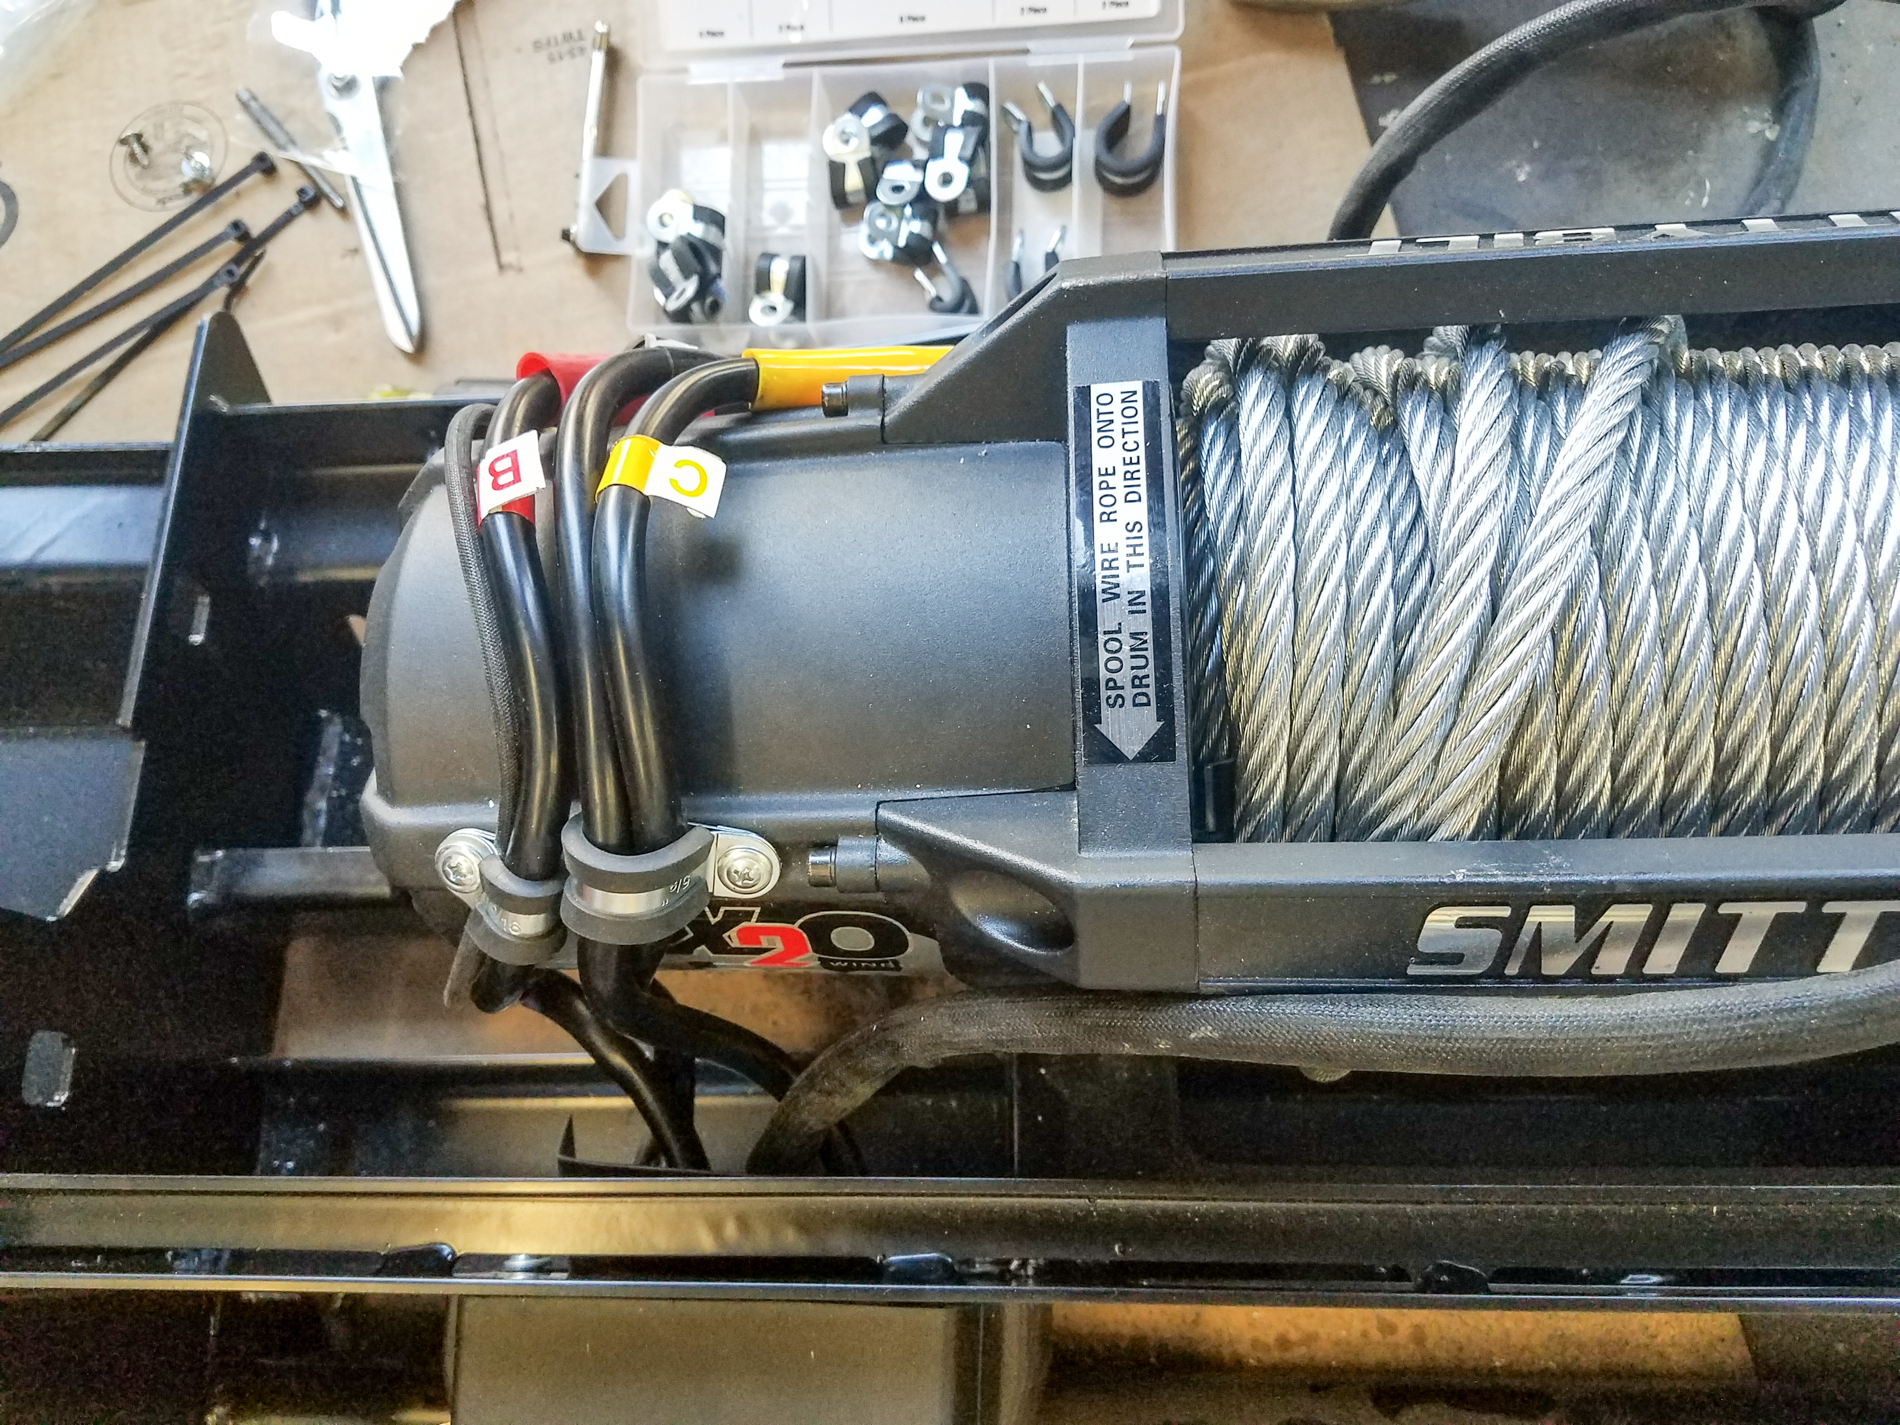
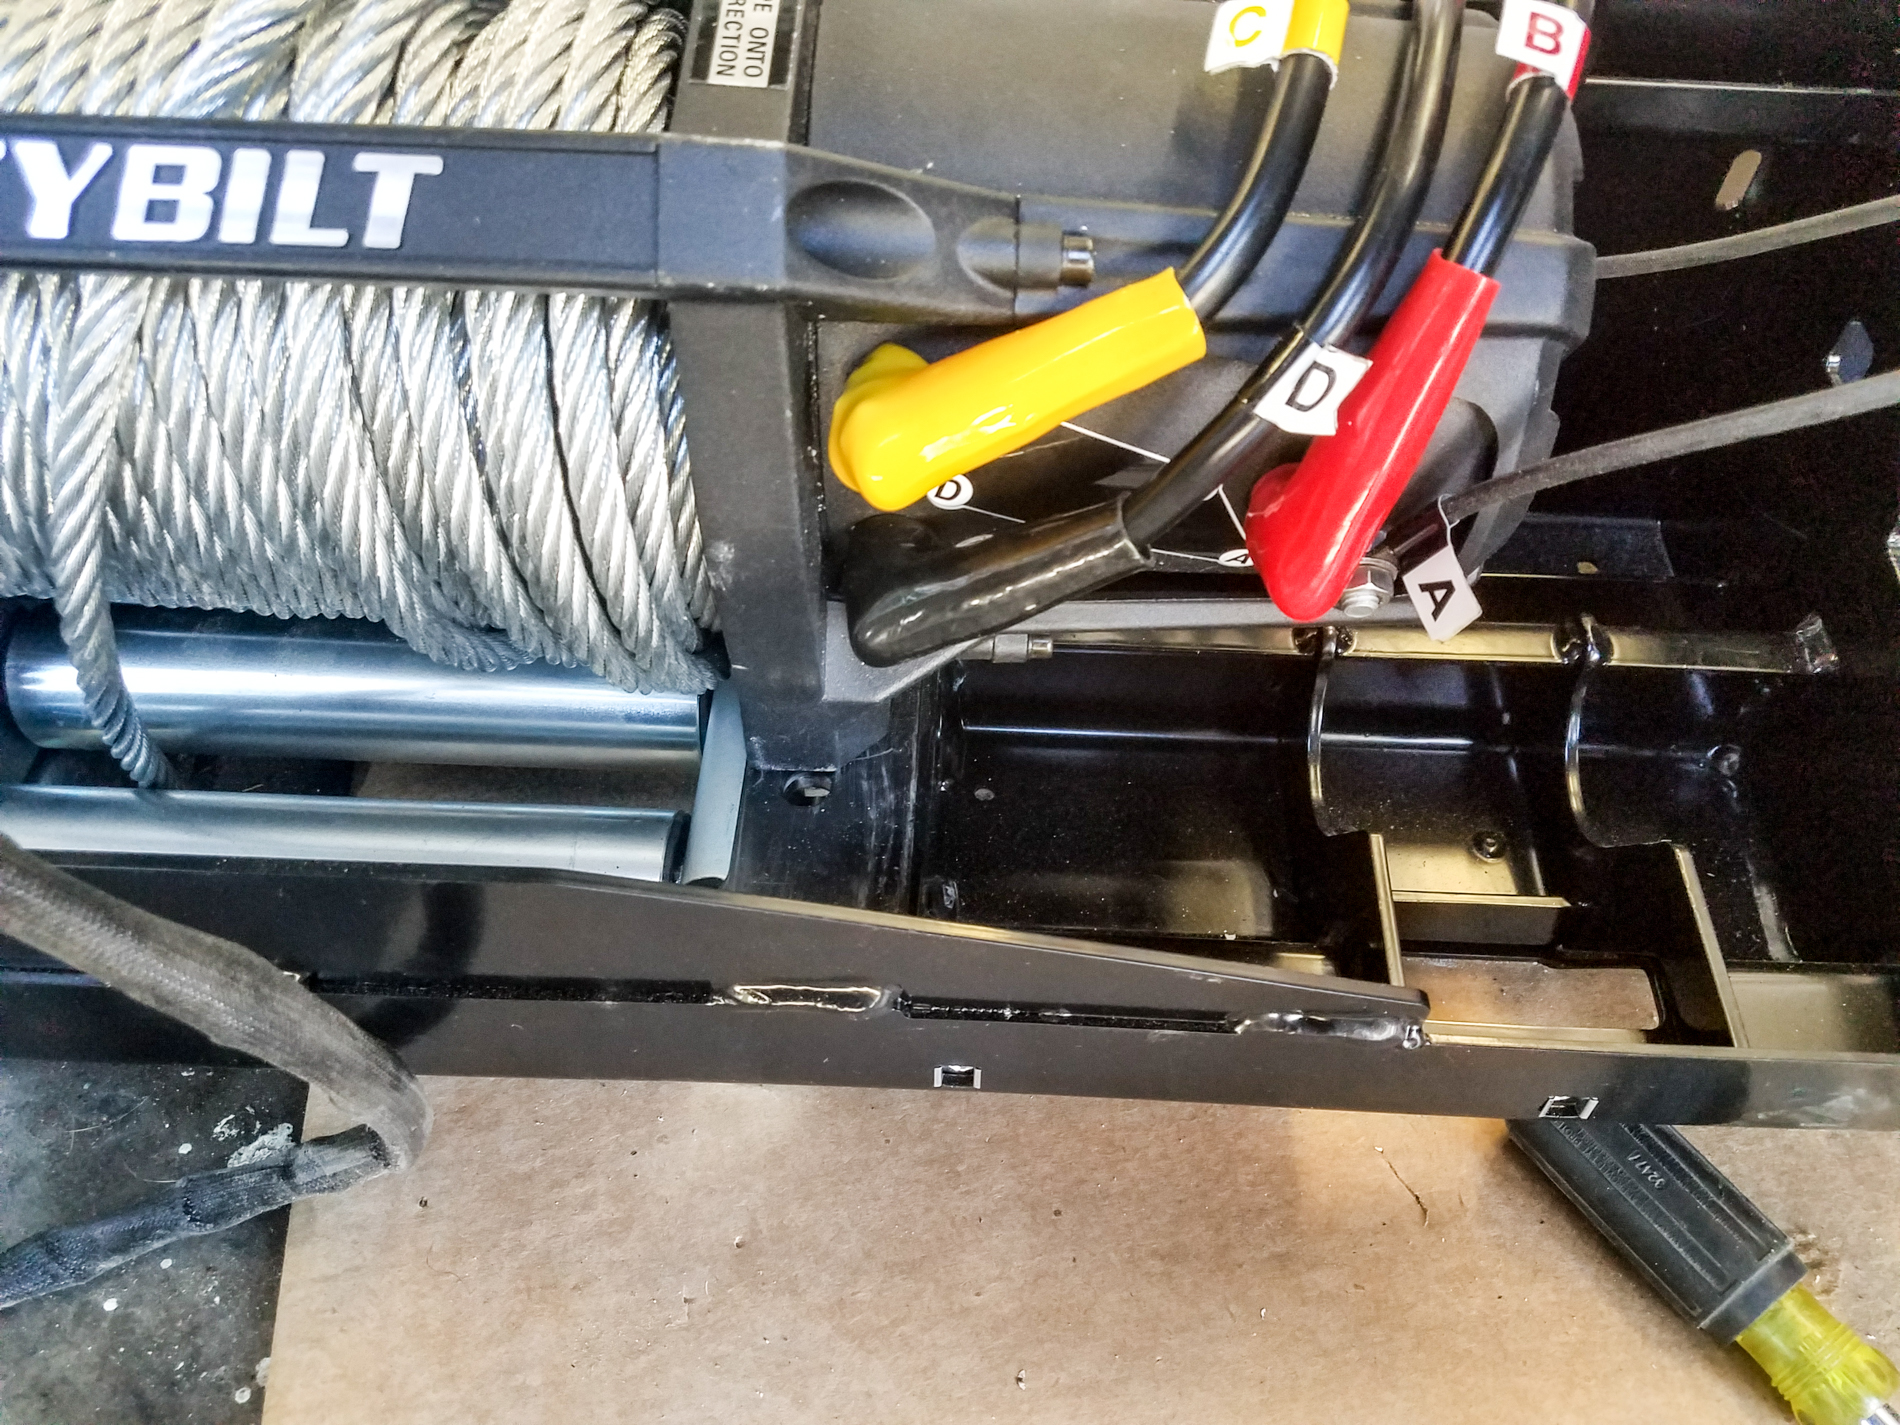
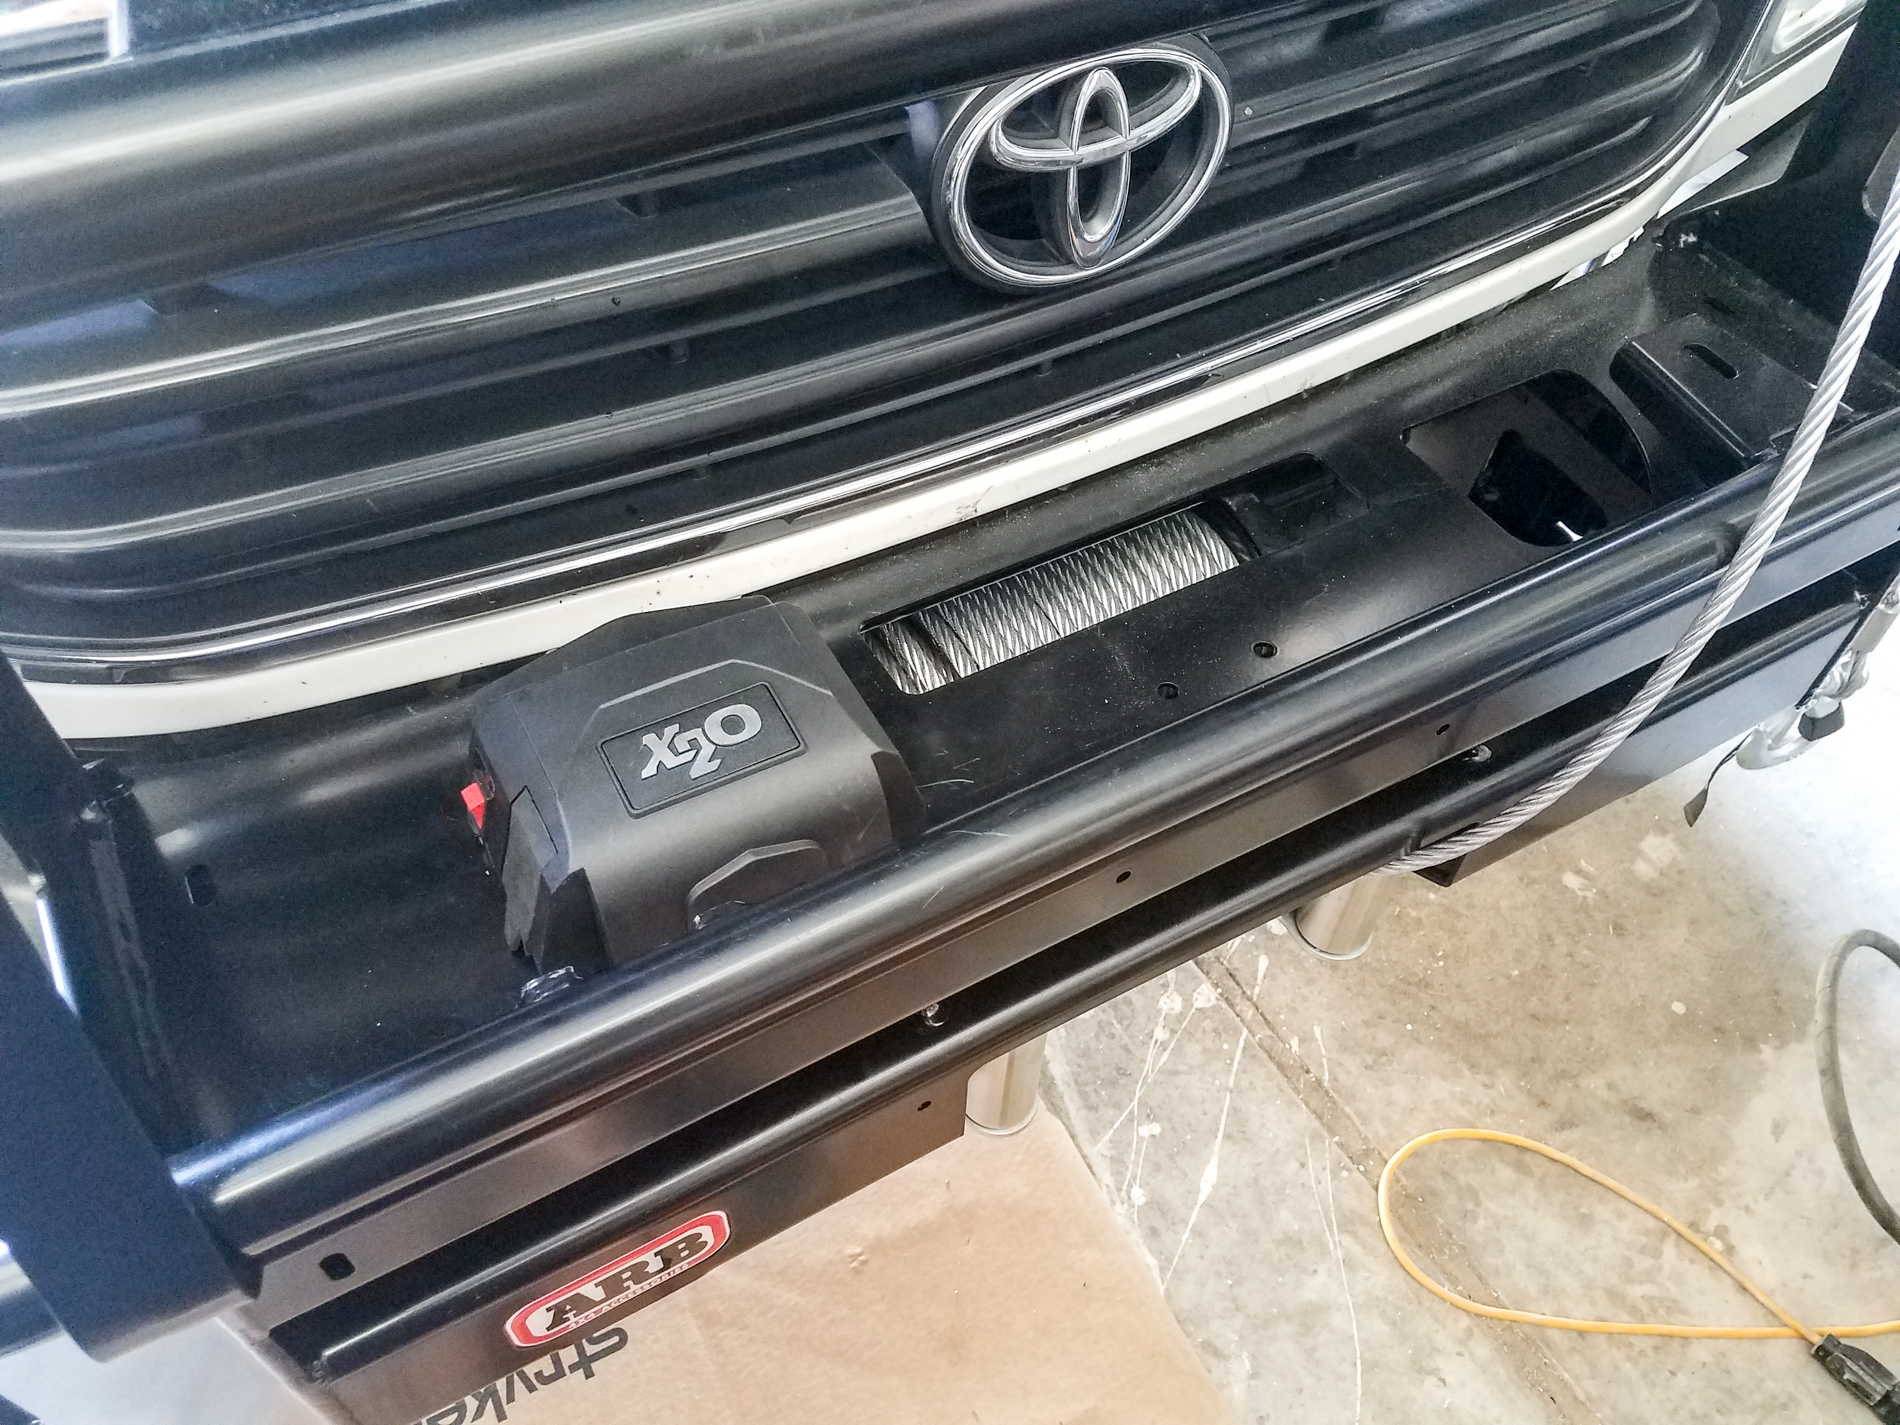
♦ Mounted a Smittybilt 10,000 lb. winch into the front bumper. We have the fuse routed to the fuse panel along with the switch.
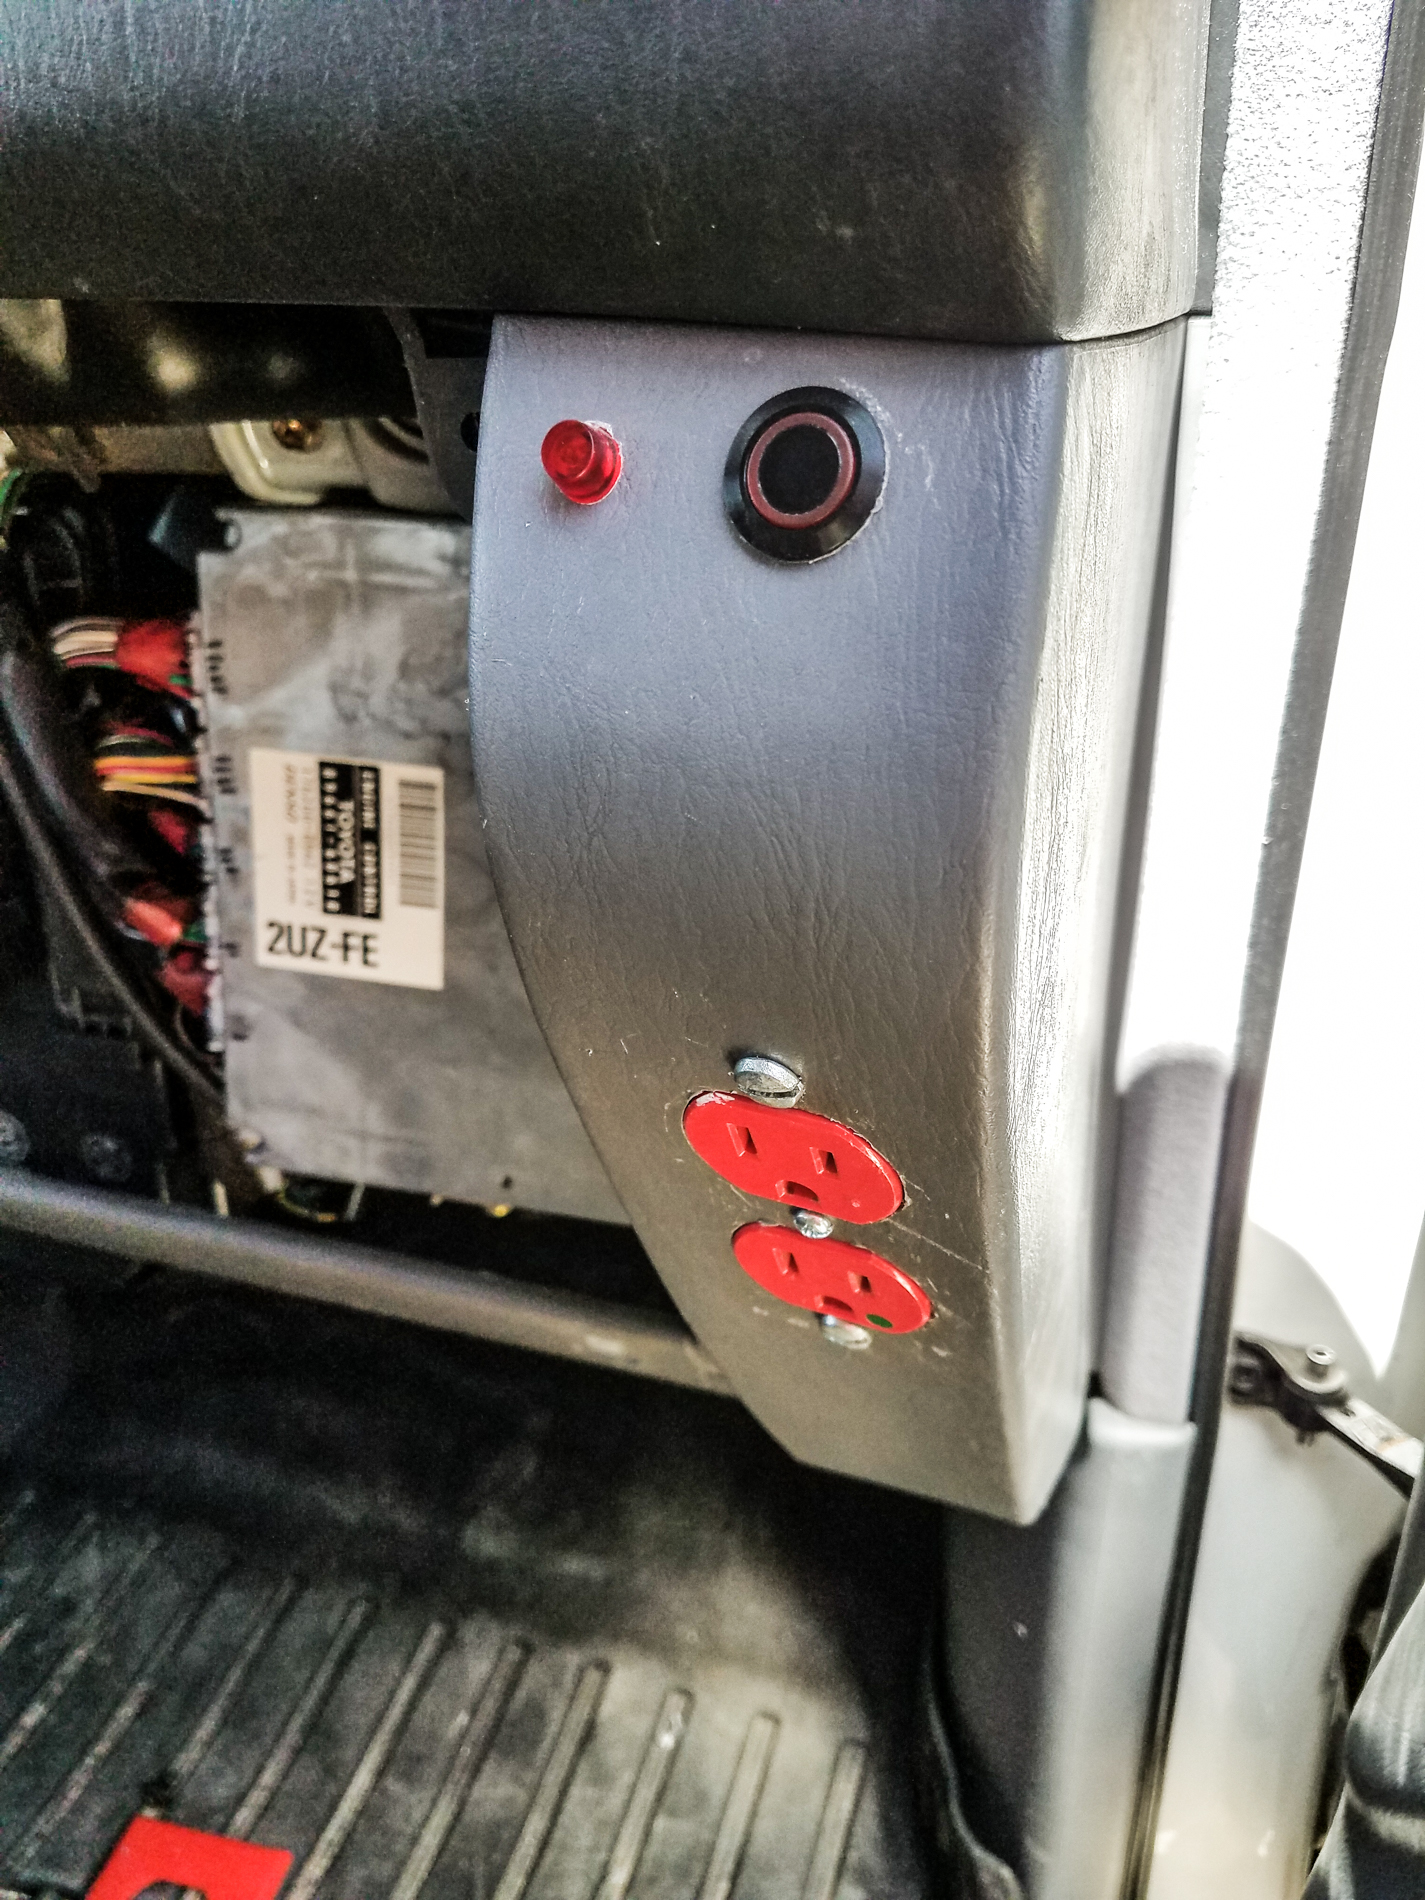
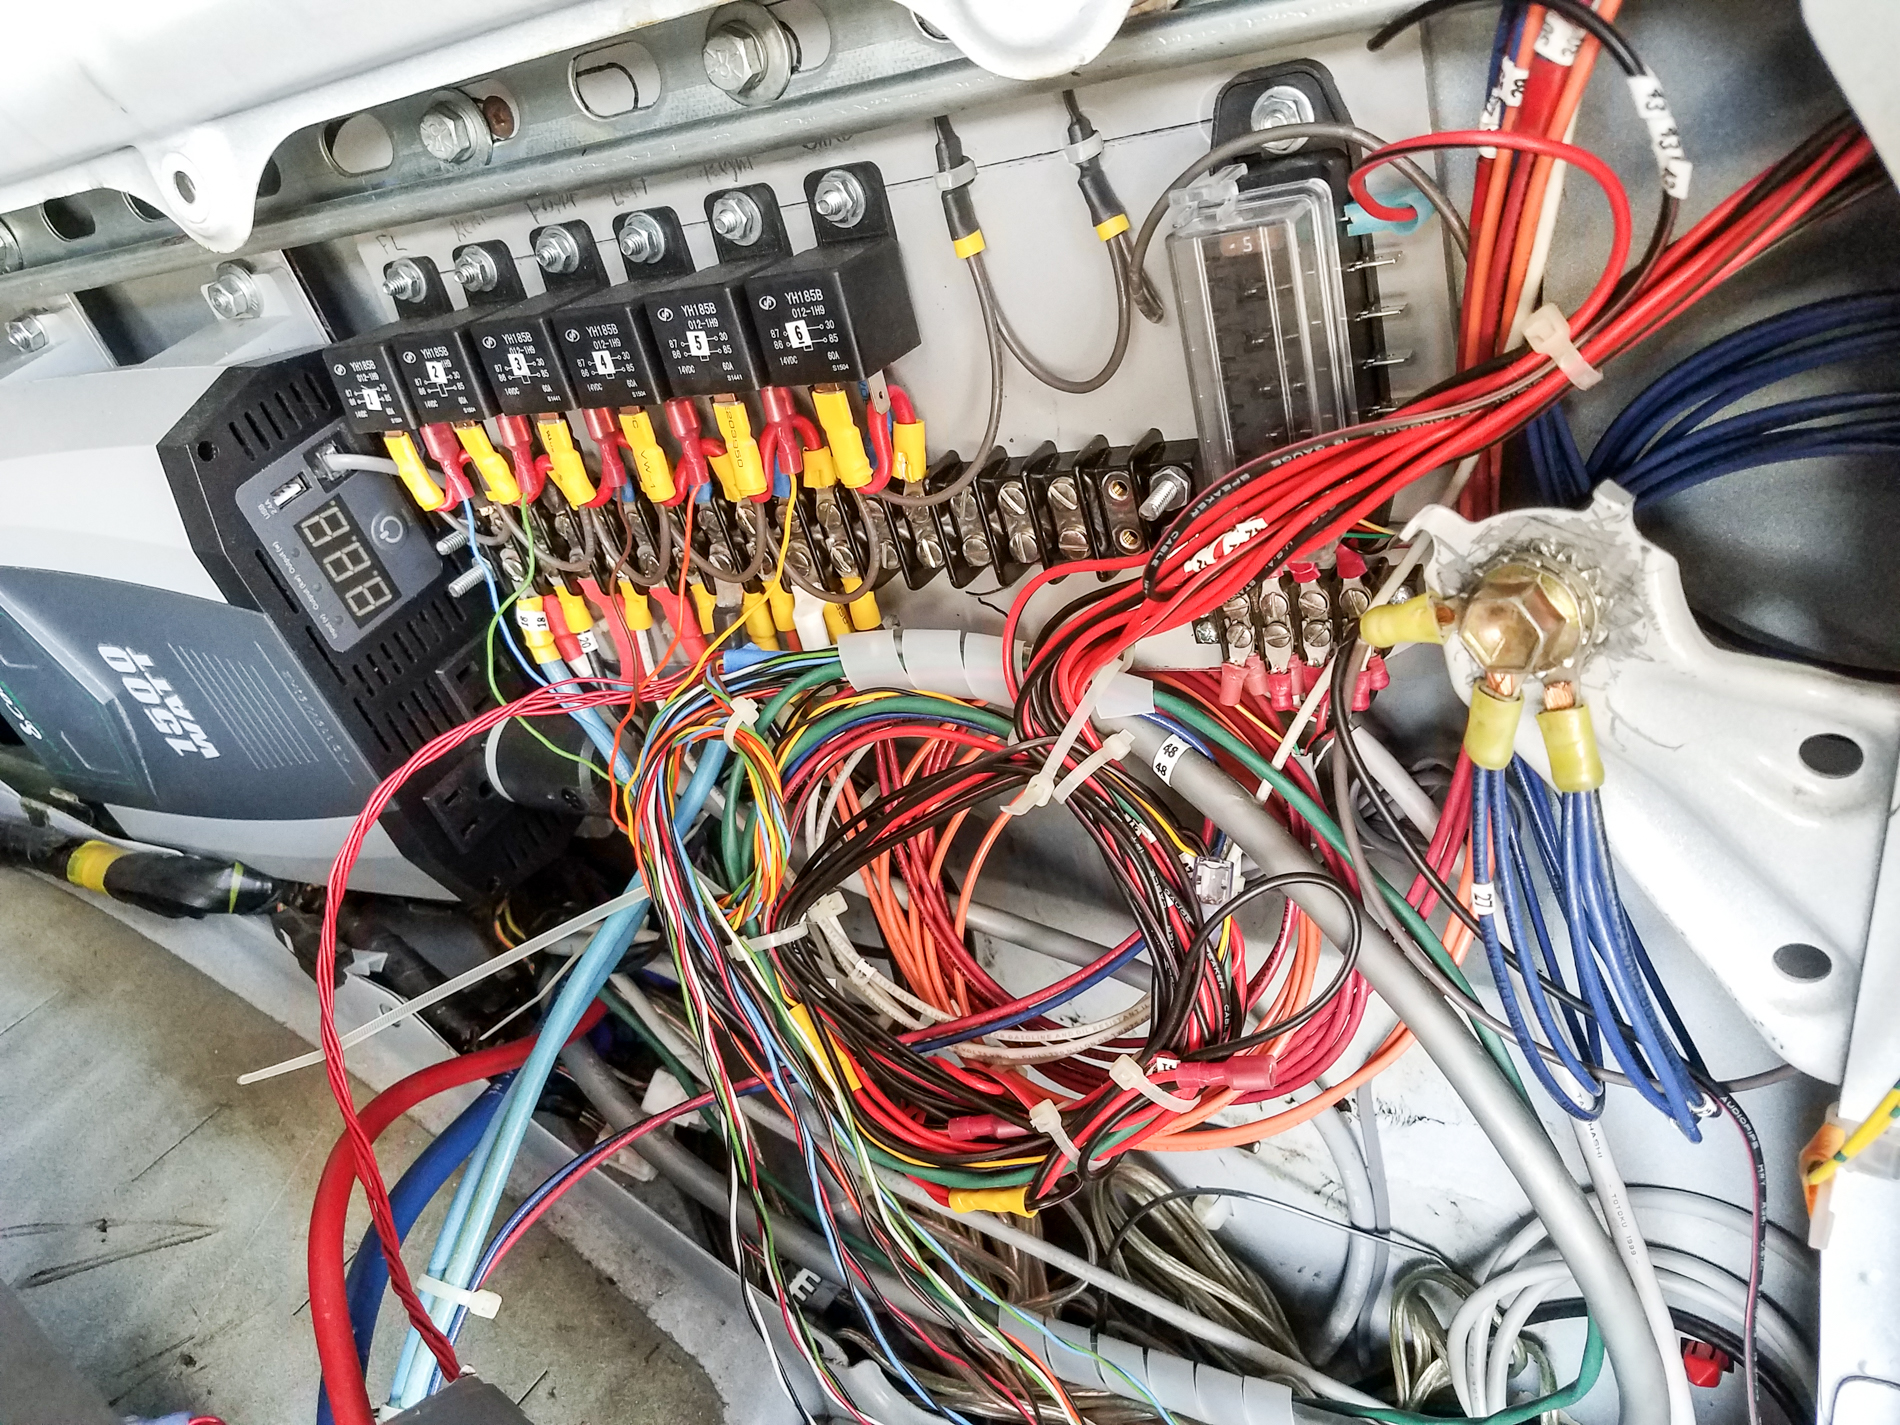
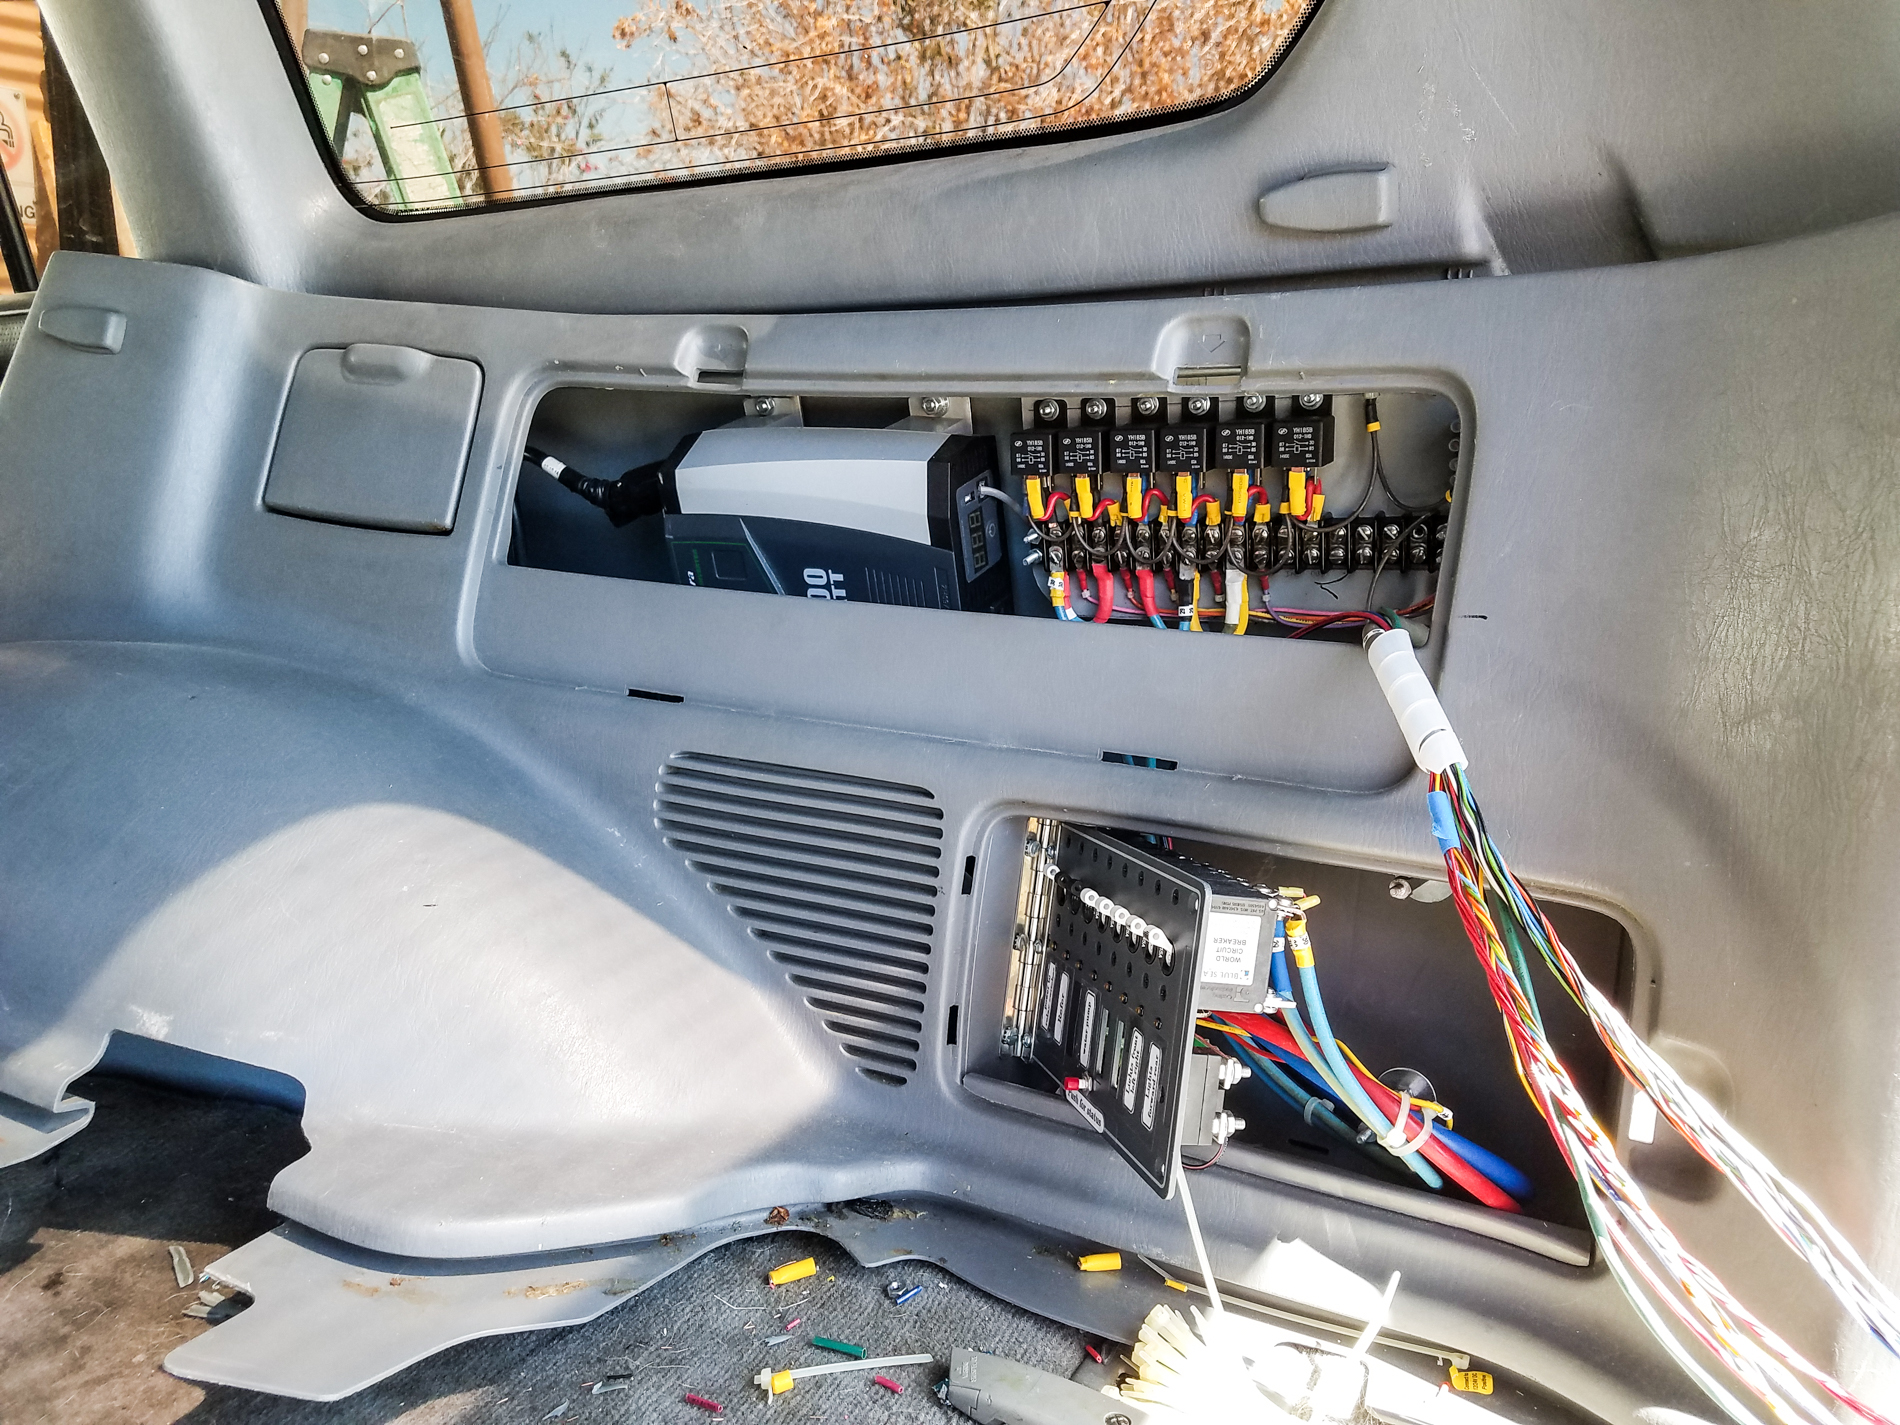
♦ Installed a breaker panel, relay panel and the inverter. Finding the right spot for this was tough, but we ended up with it on the rear passenger side. We ran all of the wires for what we need (and some spare, just in case) back here. We have an output for the inverter mounted on the passenger side front. Push the button to turn the inverter on and the light lets you know when you’re getting 110v. Yes, our finishing work could probably use some work, lol. Scratches for days.
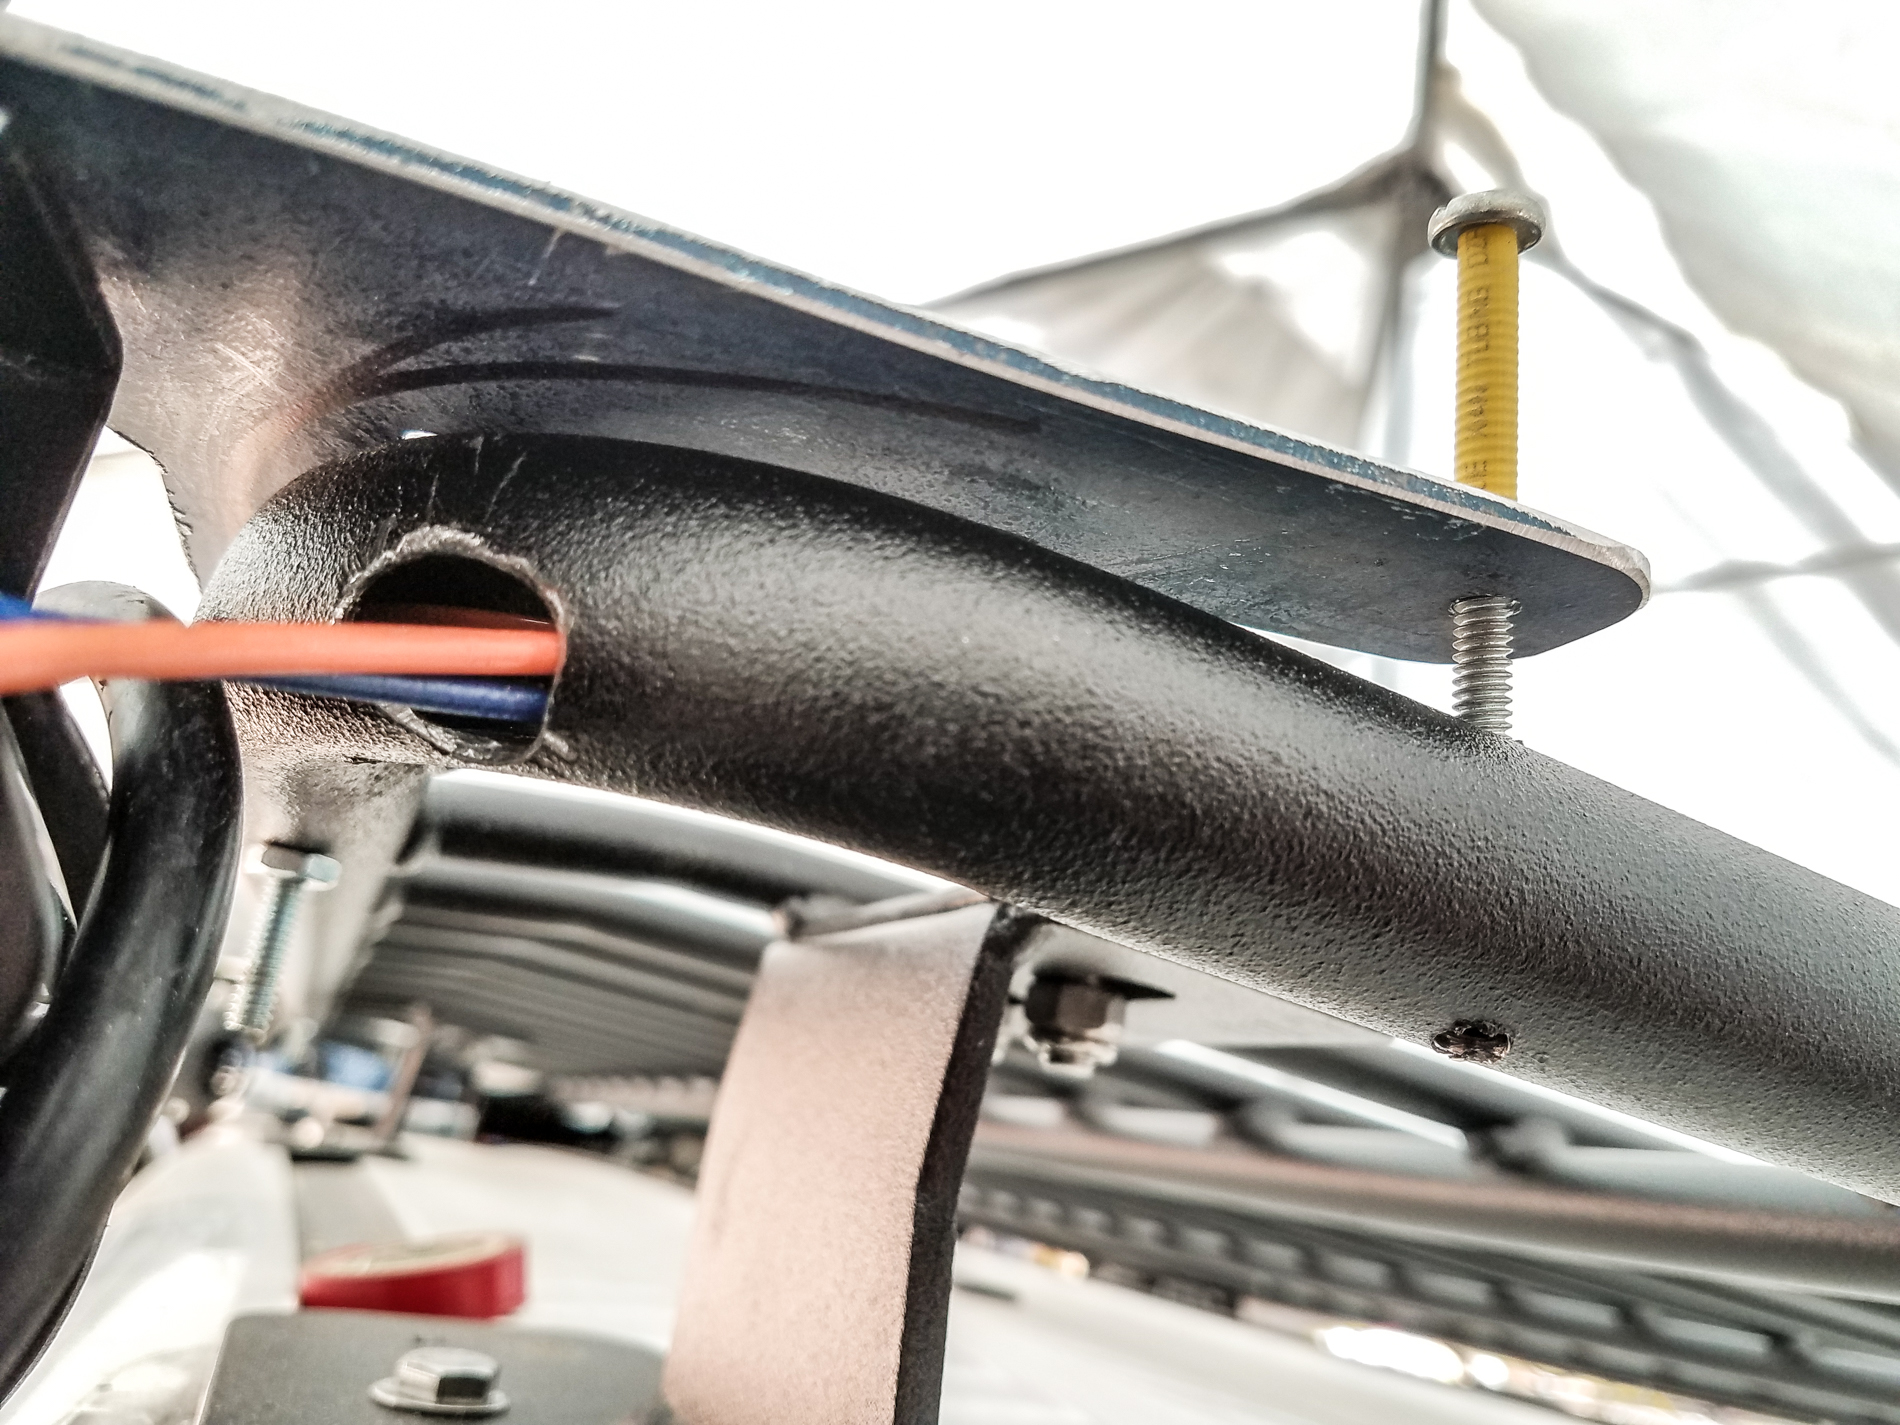
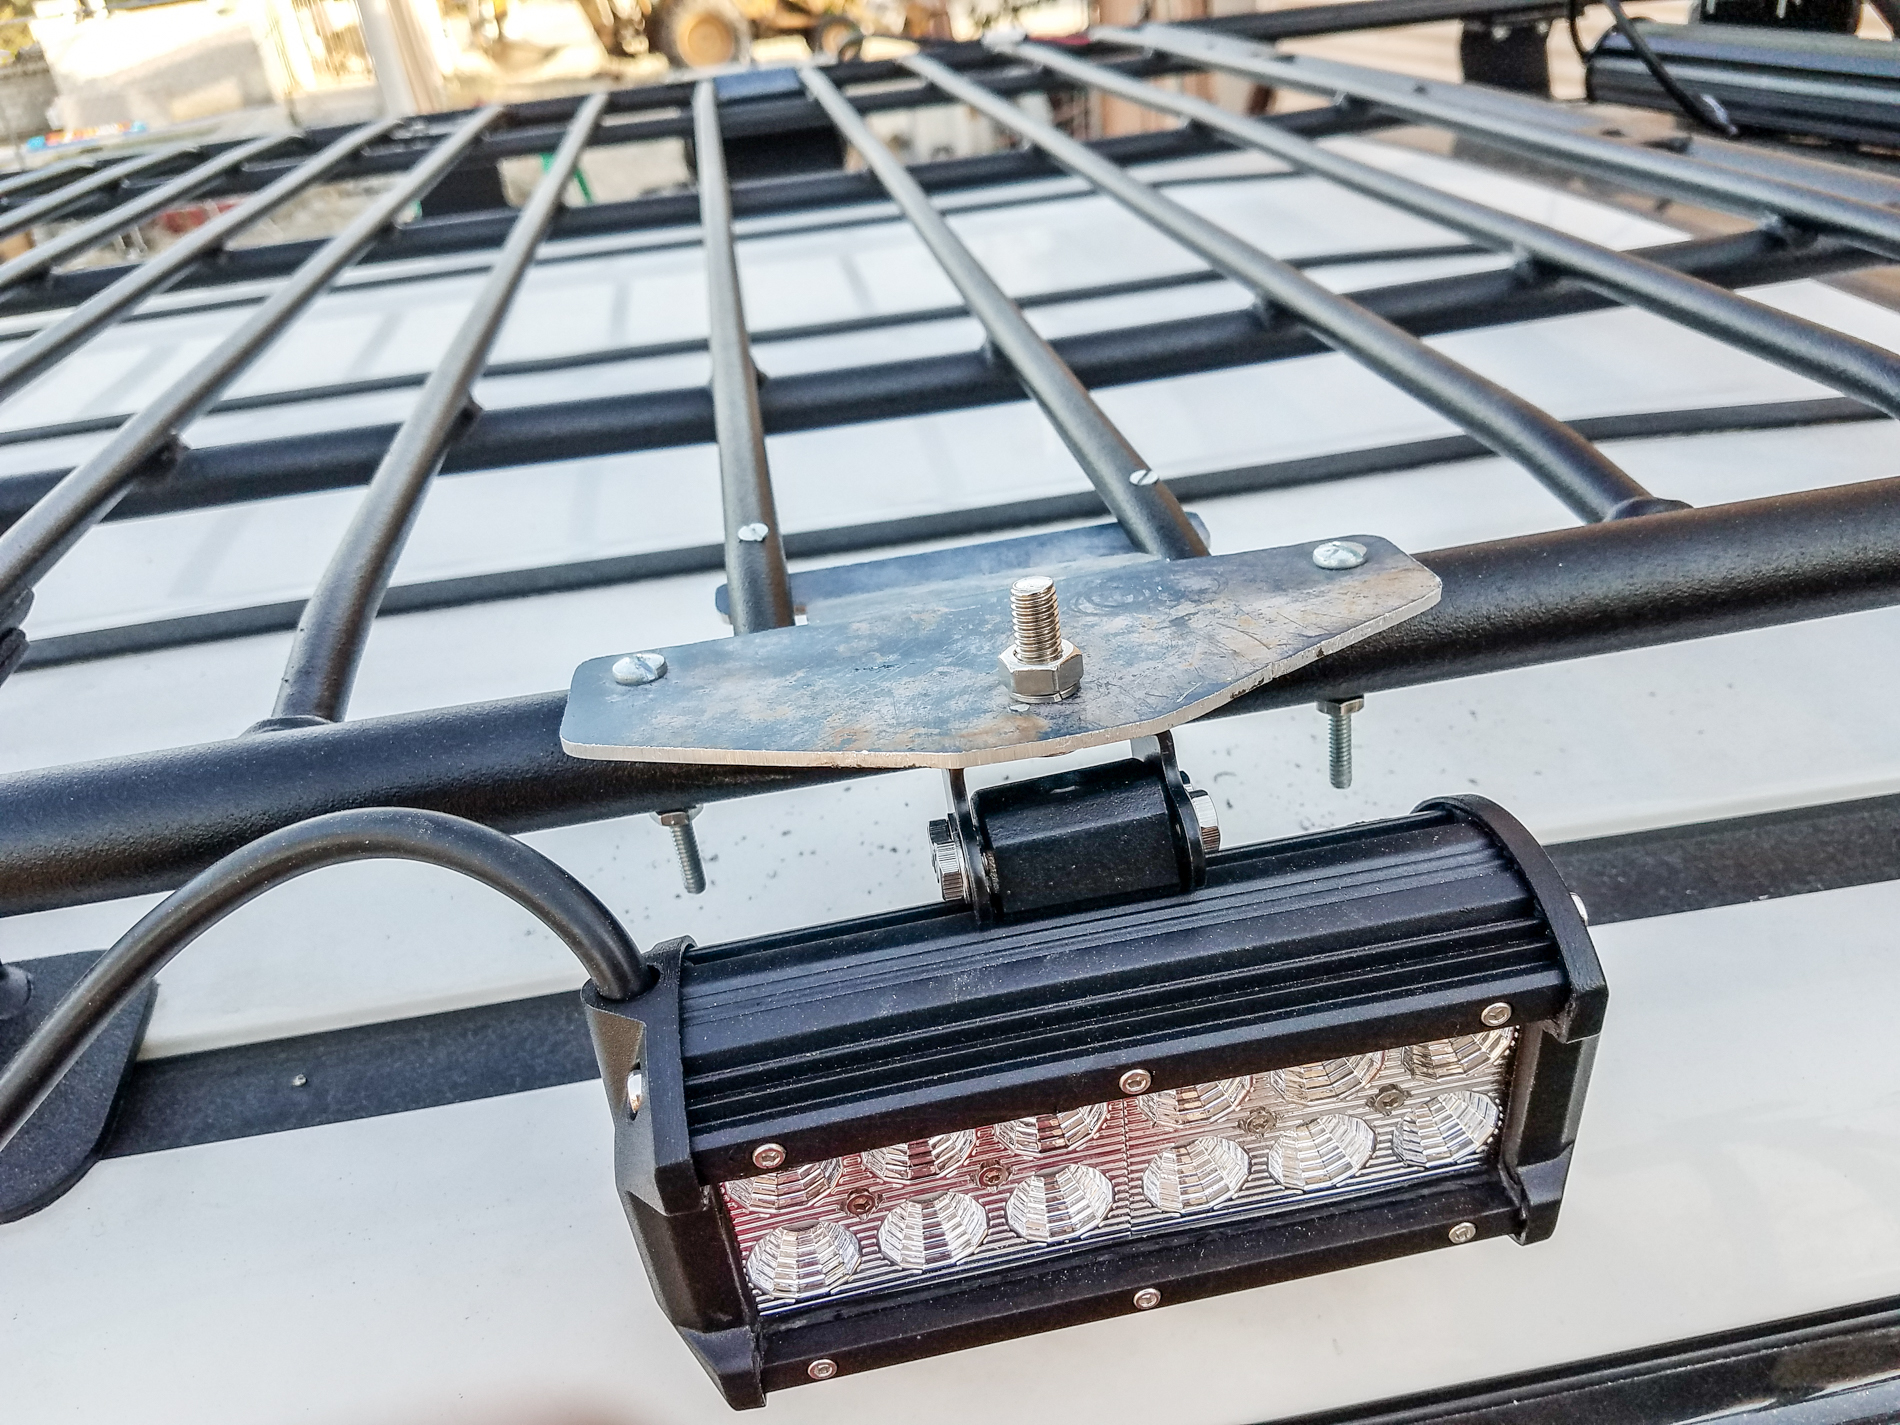
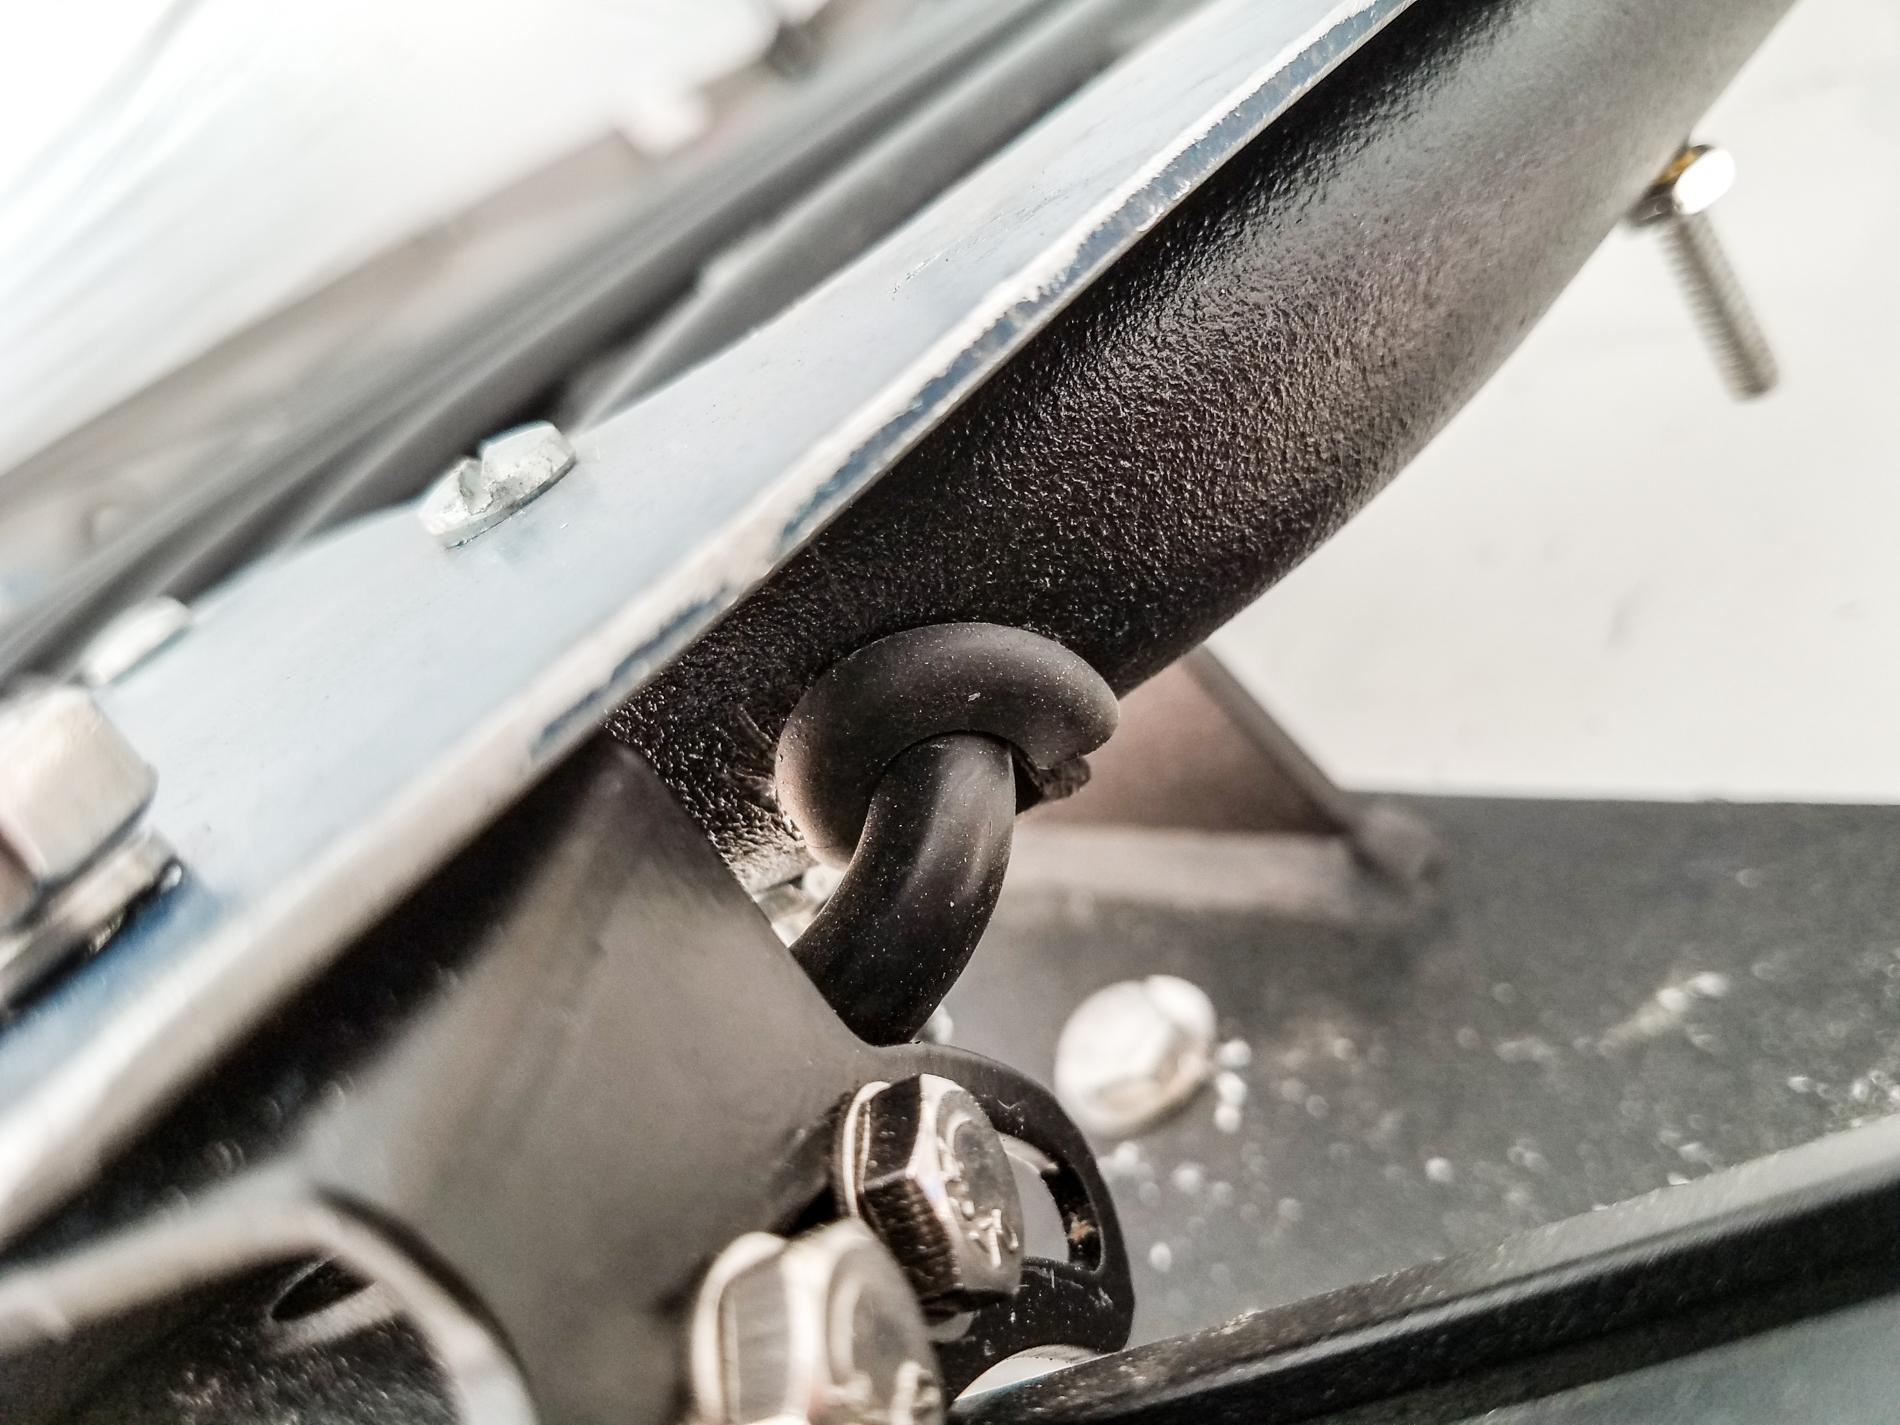
♦ Exterior lights. I wanted to have a “halo of light” around the car. Call it overkill (which it probably is), but I enjoy being able to see while driving off road, camping or hear some weird noise outside my tent at 3AM. We routed all of the wiring through the Baja Rack tube steel. We sealed it off with rubber grommets and silicone. We had to fabricate custom mounts so the lights had solid supports. We made sure to protect the bolts with rubber so the wires wouldn’t rub and create shorts.
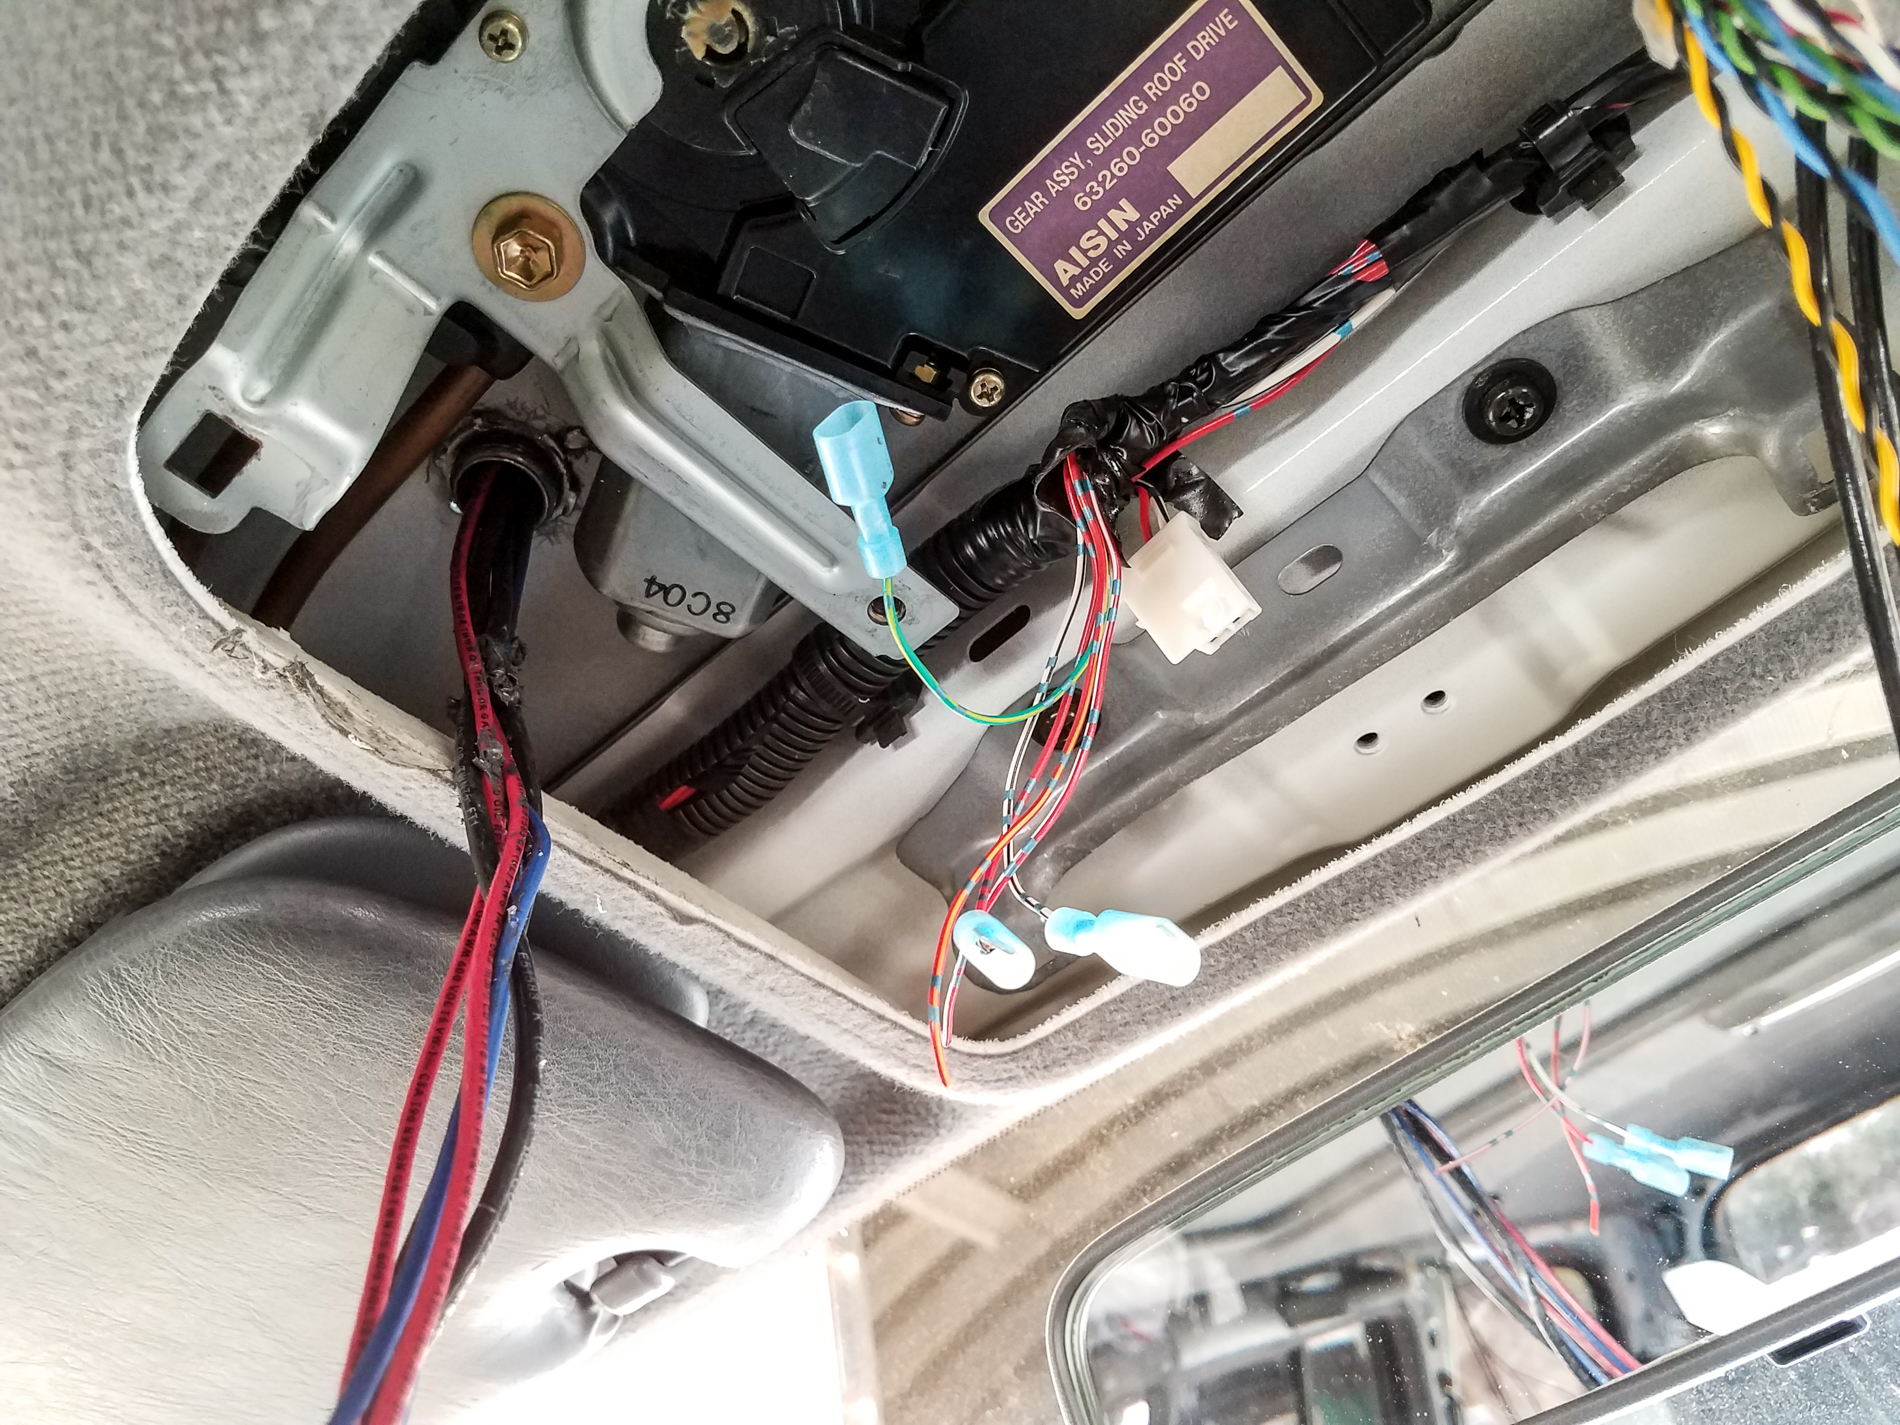
In addition to all of the new additions and larger projects, we also made sure to upgrade a lot of the pre-existing electrical systems. We converted all interior lights to LEDs. The console cluster lights have also been upgraded to LEDs. Our fog lights and soon, our head lights will also be converted to LEDs. We’re trying to keep our driving amps as low as possible.
This page is not complete. We will have more images and systems as they are completed! It’s a process.
Next page: Armor/Protection